
How to Install and Place Solar Frog Path Lights for Maximum Illumination
Step 1: Unpack and Inspect Your Lights
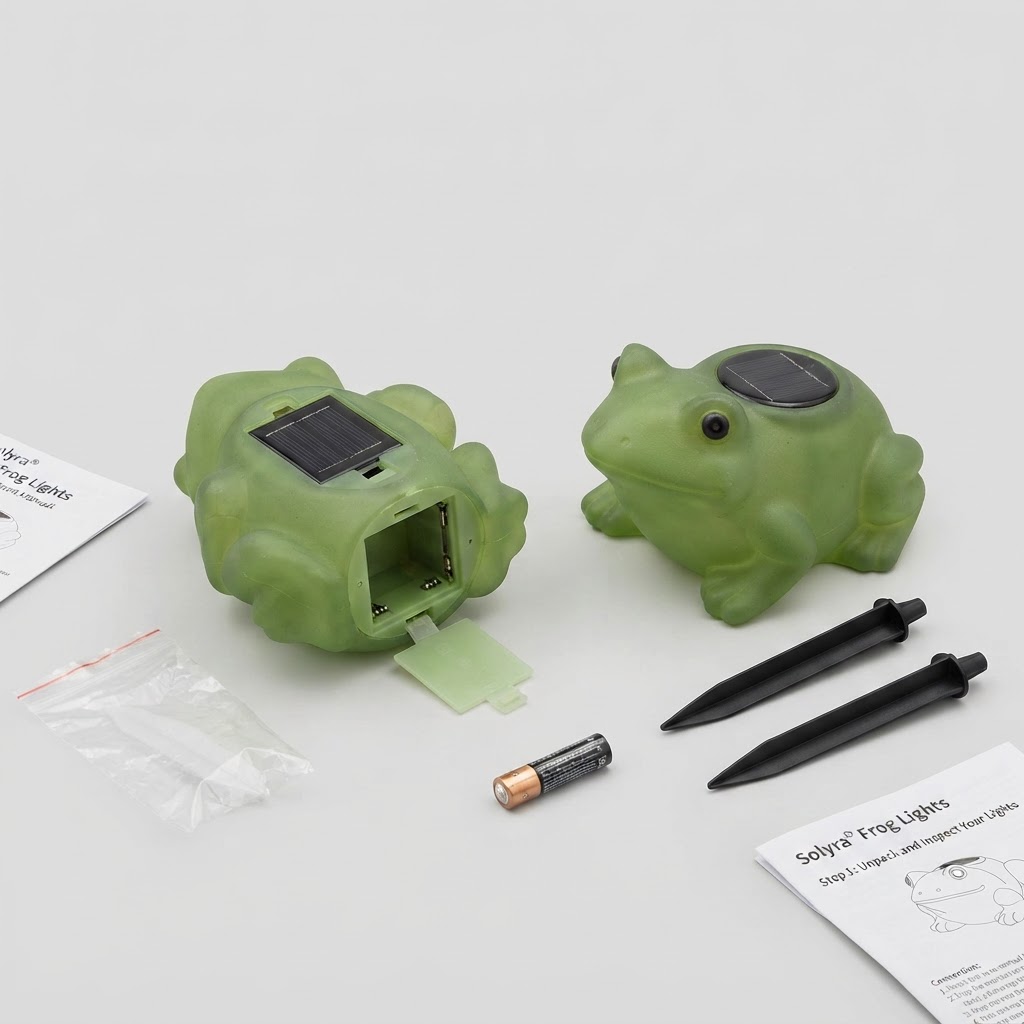
Unbox your 6-Pack of Solar Frog Path Lights carefully. Inspect each unit to confirm the painted finish with plastic base material and light housing are intact. For additional styling ideas before setup, consult the main guide.
Step 2: Select an Unshaded Installation Spot

Choose an outdoor location along your walkway, garden, or patio that receives unblocked direct sunlight. Ensure tree branches or roof overhangs will not cast long shadows over the solar panel during peak afternoon hours.
Step 3: Prepare the Soil for Mounting
Check soil hardness before installation. If the ground is dry or compacted, water the area lightly to soften the earth. Never force ground stakes into hard soil using heavy hammers, as this may damage the plastic ground mounting components.
Step 4: Insert and Position Your Frog Lights
Utilizing the Easy floor mount installation feature, gently press each stake into the ground until secure. Align the solar panel facing upward toward the sky. Turn the power switch to ON so the Solar Powered - Auto On/Off feature can charge the battery during daylight and trigger Color Changing LED lights automatically when dark.
Read the full guide: Complete Guide to Choosing the Best Solar Powered Frog Garden Lights